How it works
A session covers a period: a start date and an end date. These dates control when access opens, reminders and what is displayed.
Steps
Open the session
when creating or editing it.
Enter the dates
start date and end date.
Set the locking (Options tab) — decide whether and how access is locked (never, locked, automatically based on the dates, or by link).
Switch on hiding (optional) — the session can be hidden automatically once it has ended.
Save.
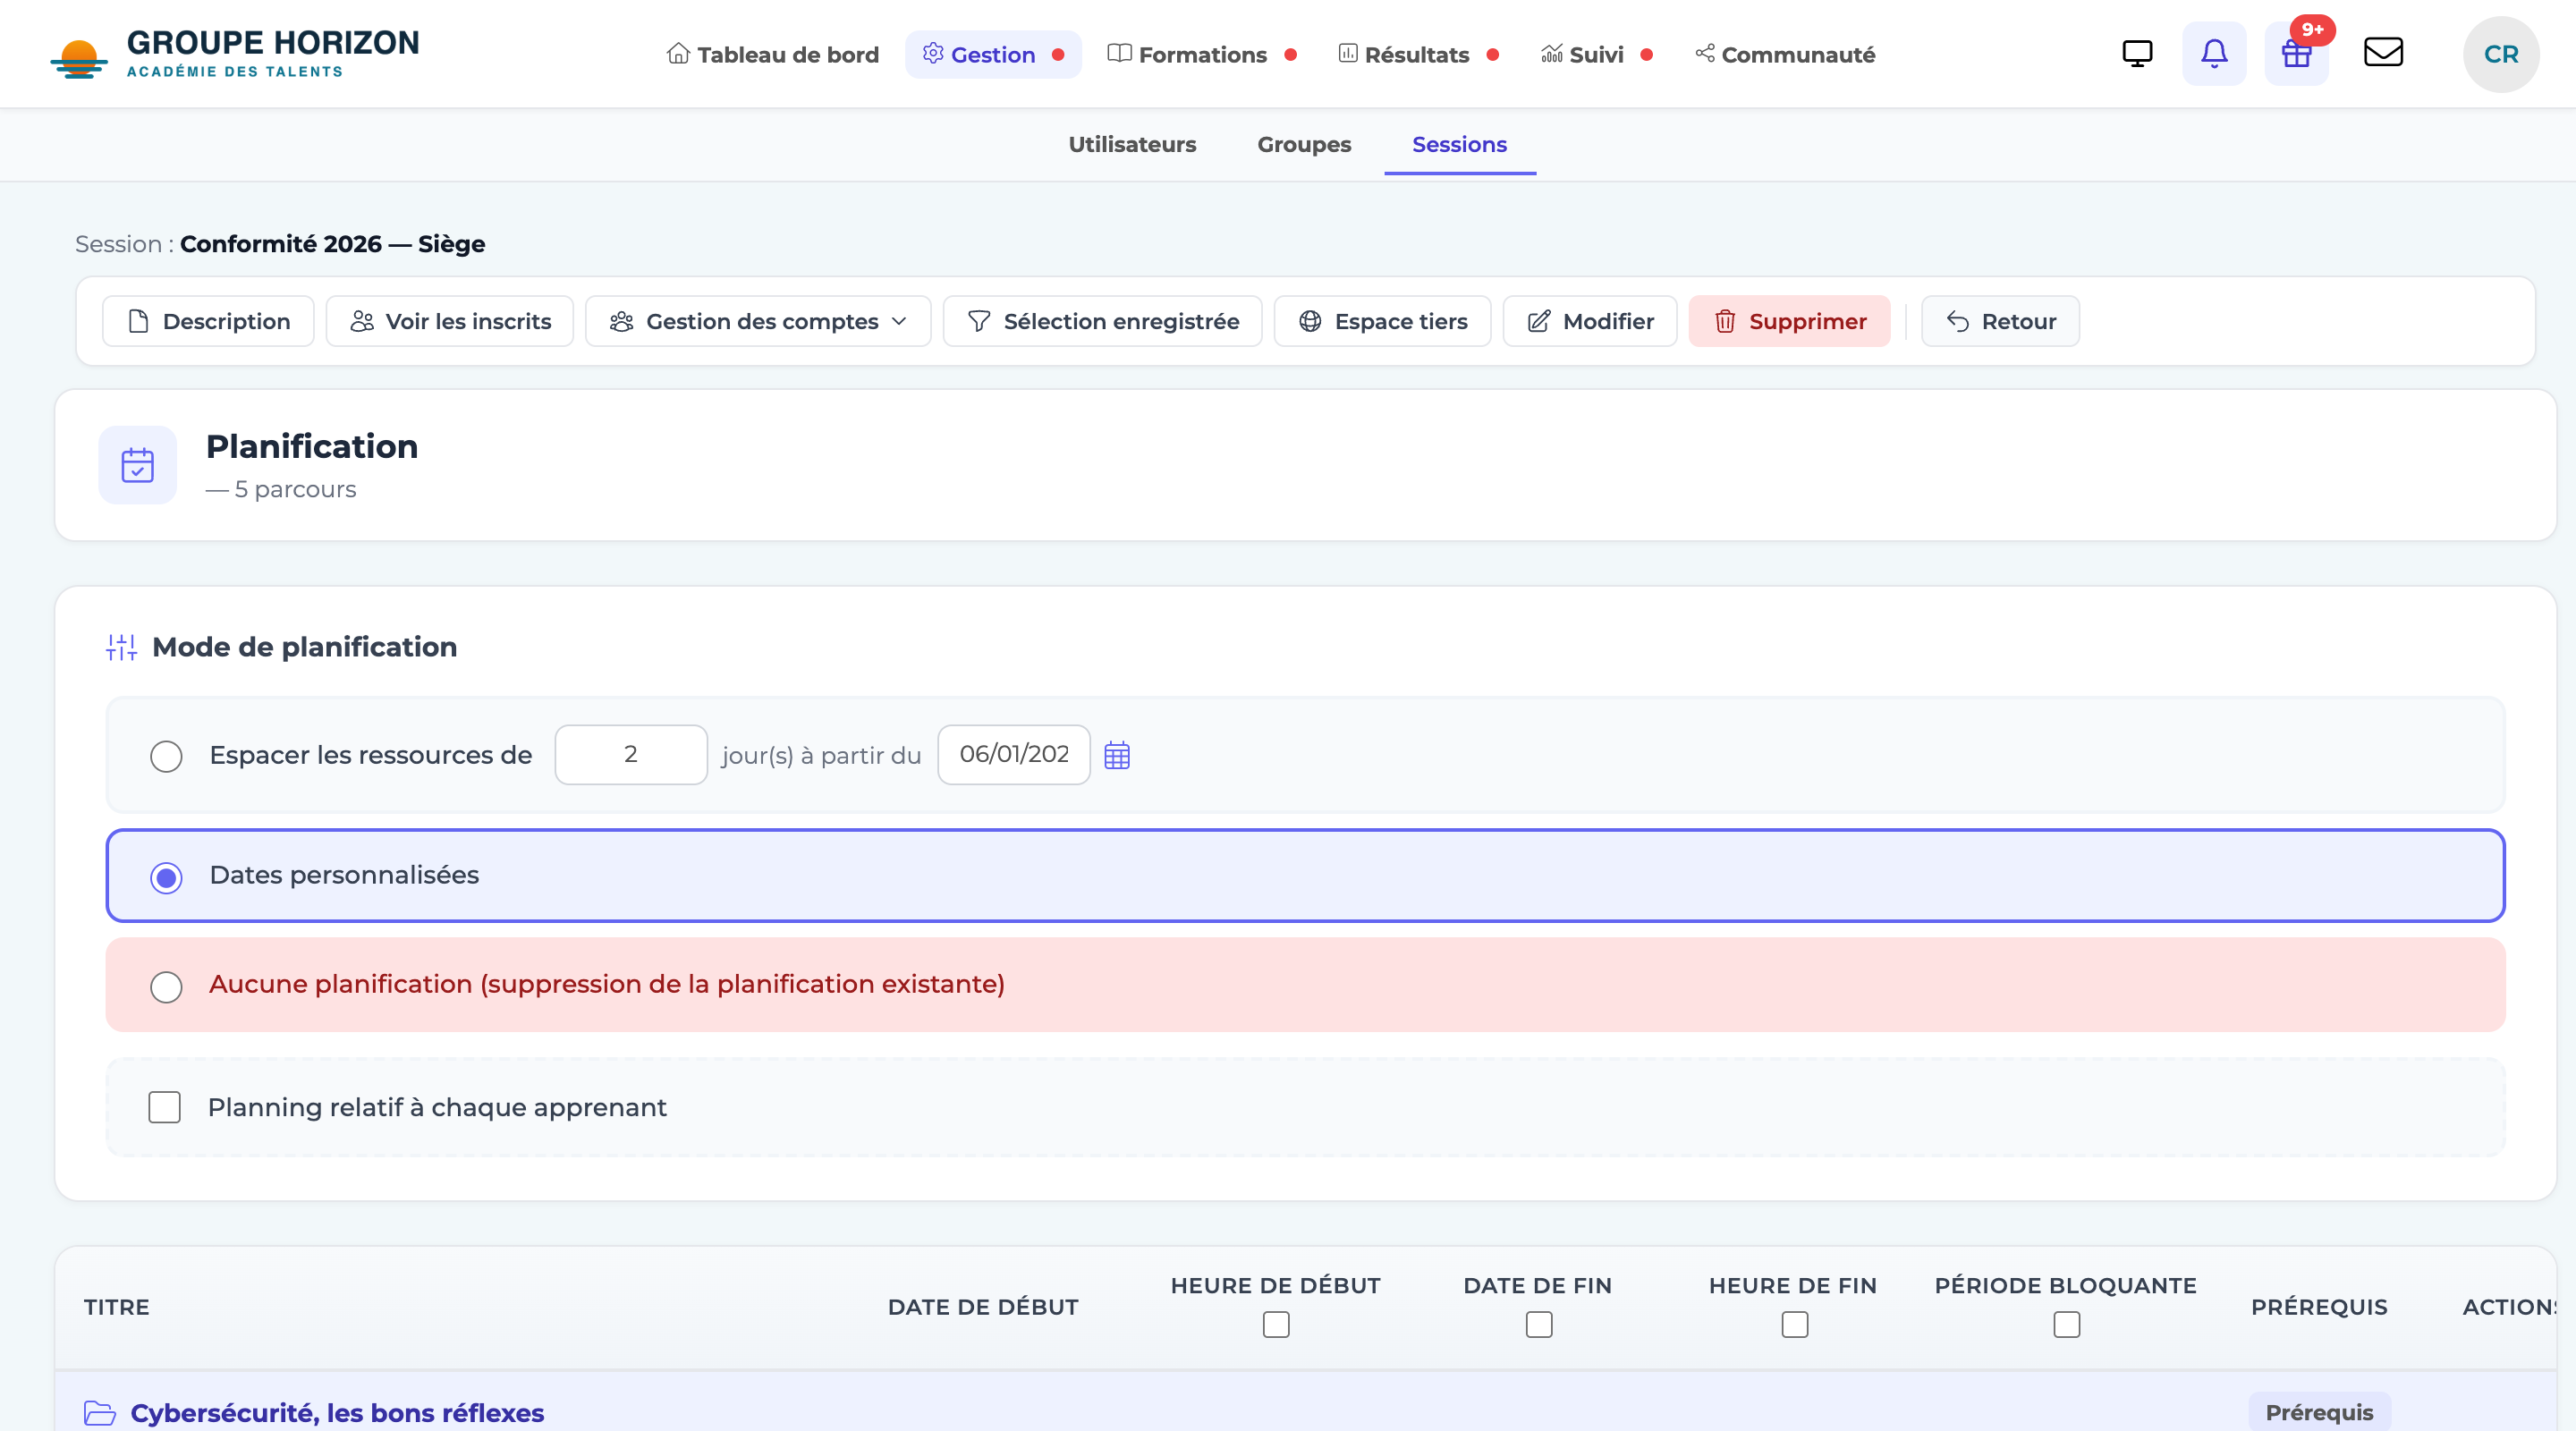
Schedule relative to each learner
By default, a session's schedule is absolute: each activity opens on a fixed date, the same for everyone. That suits a cohort that starts together, but not a rolling-entry session, where you want to open content week by week from each learner's own date.
Open the session schedule
the Schedule button in session management.
Tick "Schedule relative to each learner".
Choose the starting point for each learner
- their enrolment date in the session (or, failing that, their group's);
- their first access to the course;
- the later of: enrolment or session start — a learner enrolled three months in advance does not find everything open on day one.
Schedule on the calendar as usual
the dates you enter serve as a template: only the gaps between them are kept, then applied to each learner from their own date.
Confirm.
Gaps are counted from midnight on the starting day: "Day+7 at 9 am" falls at 9 am for everyone, whatever time they enrolled. Existing schedules remain absolute: there is nothing to redo.
- If a learner's starting point cannot be found, the period does not apply to them and their access stays open: it is better not to block a learner because of missing data.
- As soon as a hiding option is switched on, an end date is required (otherwise the session would stay blocked).
- Scheduling works at session level; to schedule access to a specific activity (availability window), see the activity options.
- The dates feed the email variables (notification, reminder) — see "Email templates".