- The right to manage groups.
Steps
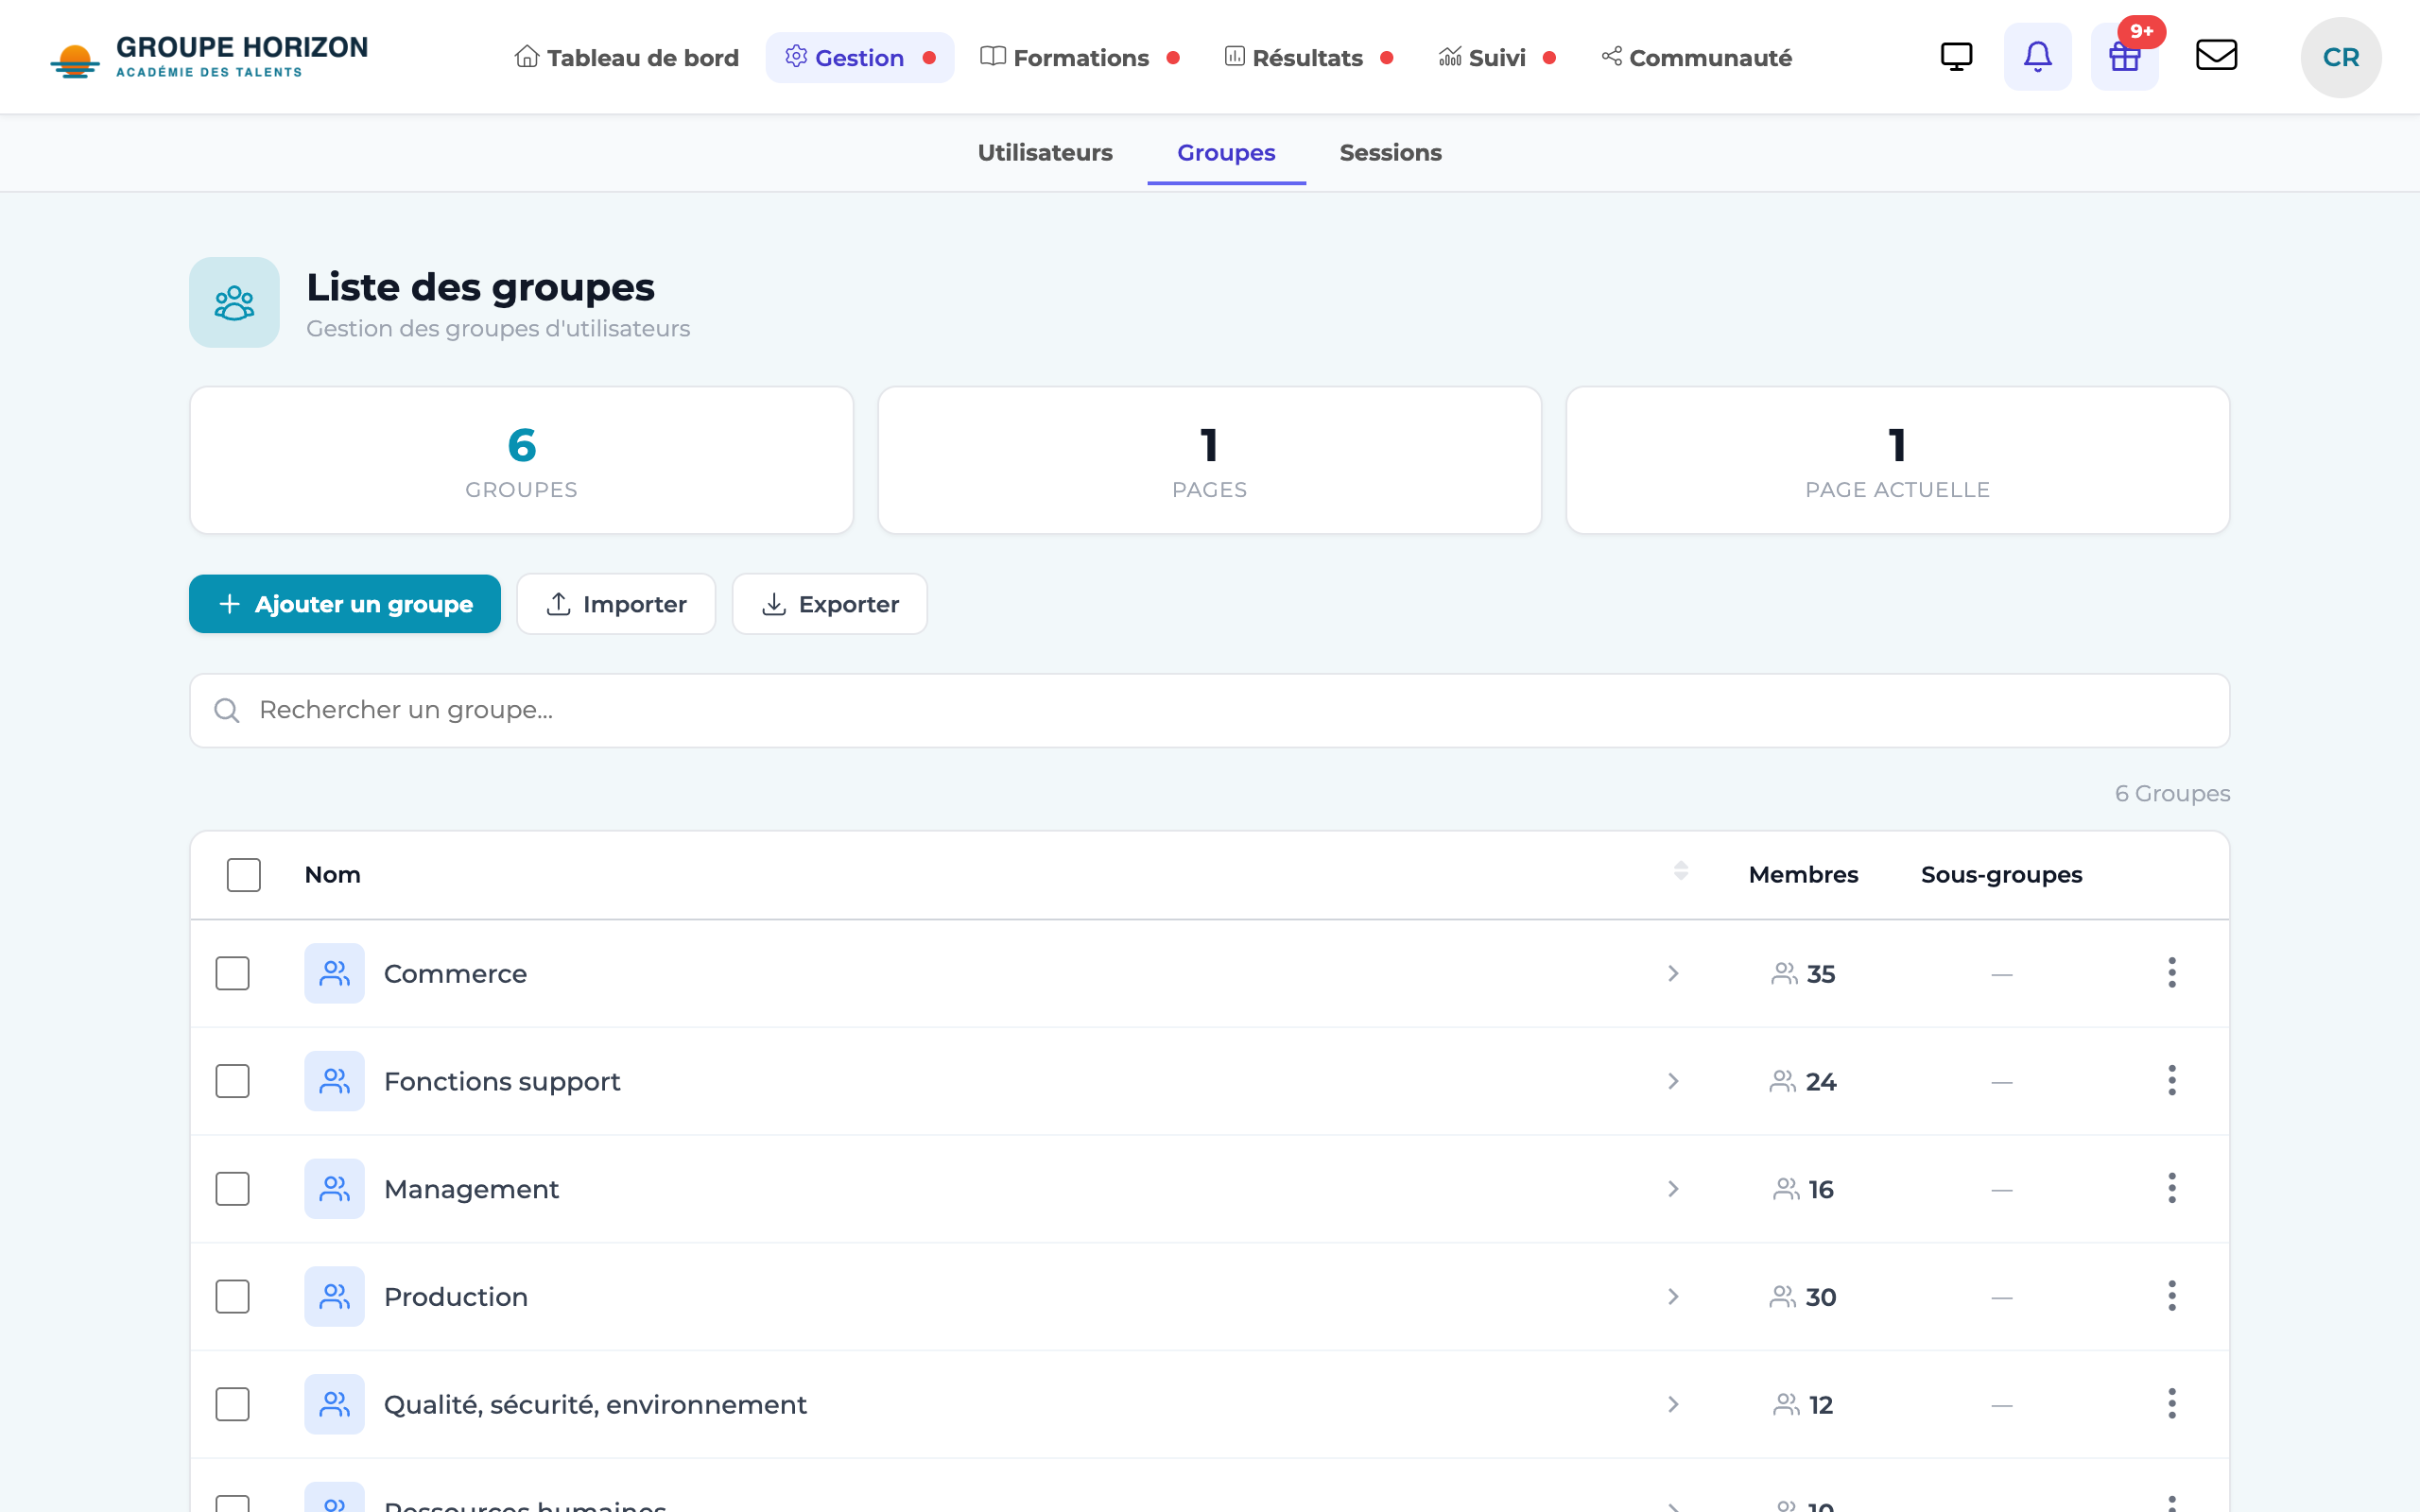
Create a group
Go to
Manage accounts → Groups → Add a group. Give it a name (and, if needed, a parent group).Add members
From the group record (Members tab), select the accounts to place in it; or, from an account, tick the groups you want.
Enrol the group in a session
From the group record, enrol it in a session: all its members are enrolled in a single operation.
Use the group
Target your communications, course assignments and exports by group.
Appoint a group delegate
On the group record, the "Delegate of the group" field lets you appoint one or several delegates (multiple selection). A delegate is usually a member of the team (tutor, line manager) whom you want to be able to follow their group on their own.
When the "The delegates of group see the results of all the members of the group" configuration option is enabled (Administration), a delegate can:
- view the results of all members of their group (Results page);
- export, for each learner, the attendance sheet and the training certificate for their sessions;
- also see their learners' upcoming sessions (before they open), so they can plan ahead.
A delegate has no access to the administration or to other groups: their scope is limited to the members of the groups they are a delegate of.
Export a group record
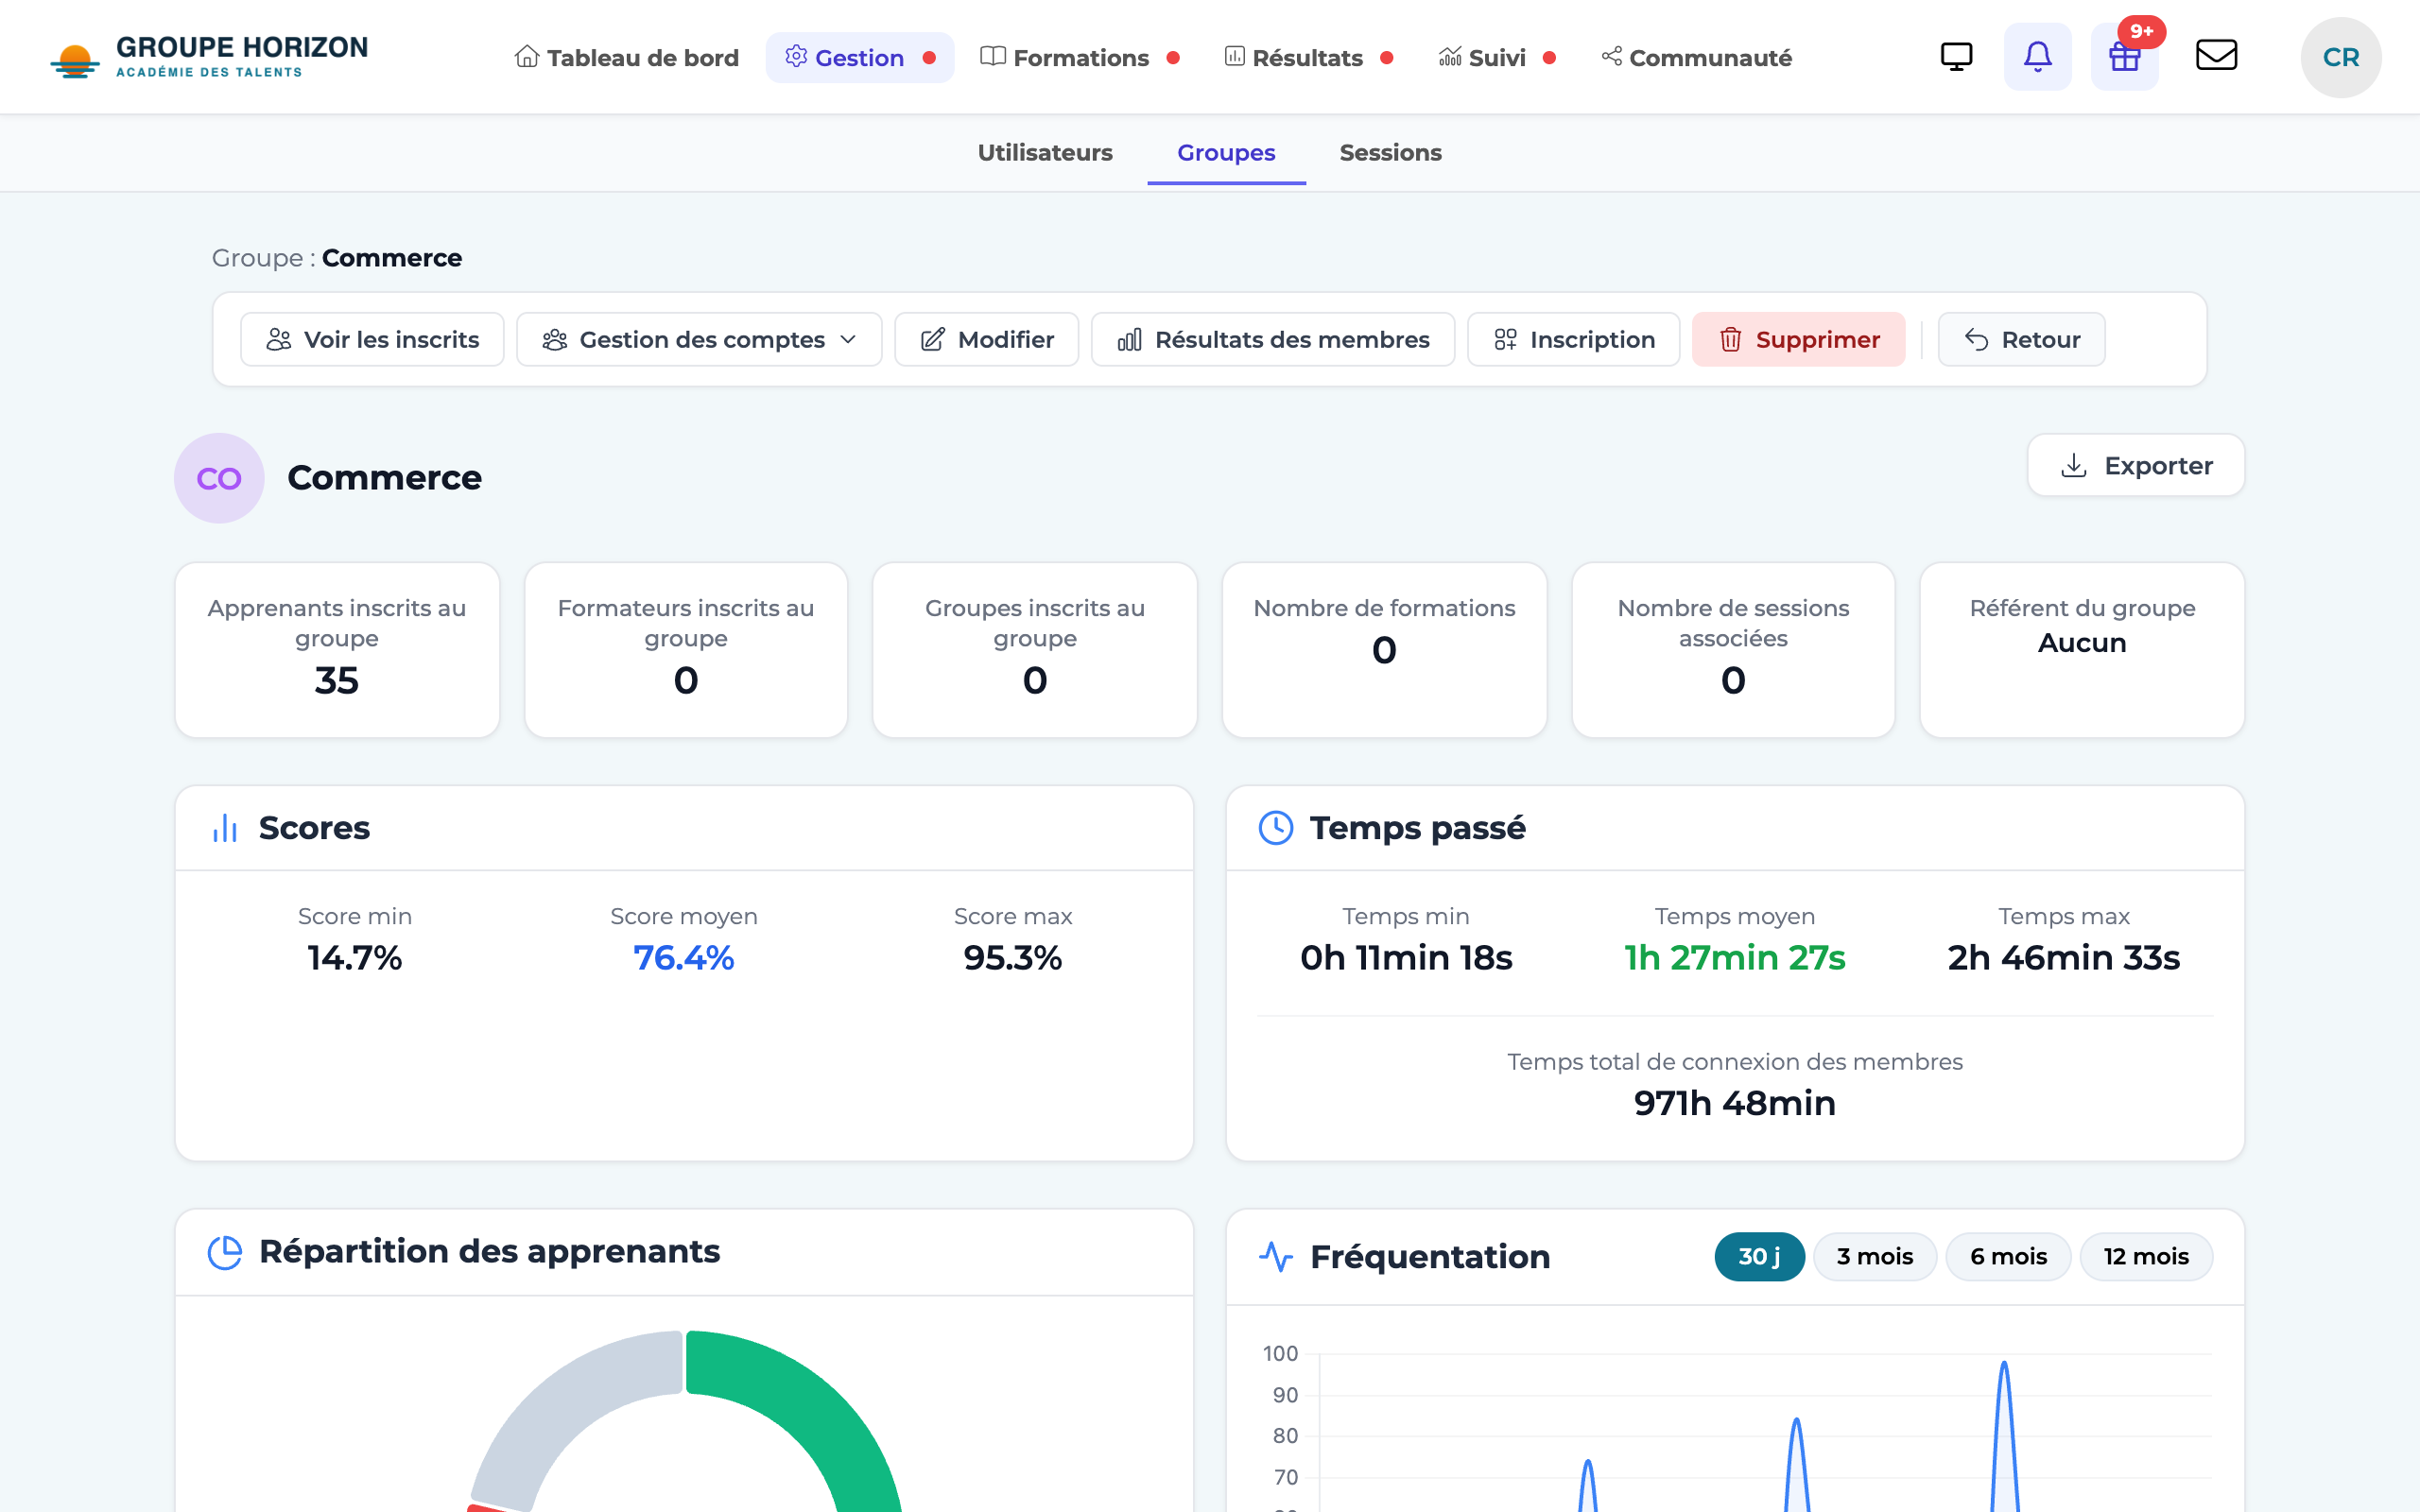
A group's record already brings together everything that describes it. The "Export" button, at the top right of the record, produces a printable version — to attach to a file, send to a manager or archive.
- What it contains — delegates, headcount (learners, instructors, sub-groups), scores and time (minimum, average, maximum), parent and child groups, the list of instructors and learners, the training plan with the detail of the activities, and the associated sessions with their status.
- Print or save — The page opens in a new tab, in black and white for printing. Two buttons: Print or Save as PDF.
- Who can do it — Anyone with access to the group record, including a delegate for their own groups.
- Equivalent for a session — The same export exists on a session record (Export → Fiche descriptive, the session's description sheet).
- A group can contain sub-groups (a hierarchy), handy for mirroring your organisation.
- You can import group memberships by CSV to save time on large volumes.
- The same group can have several delegates; the same account can be a delegate of several groups.